FeedBurner is a web feed management provider. FeedBurner provides custom RSS feeds and management tools that will help to your blog reader to get regular updates of your blog posts viaemail or Google Reader. You might have seen the feedburner ‘chicklet’ and the news letter sign up on various blogs as shown below.


This post will help you to setup a Feedburner for your blog.
Follow the steps below :
- Go to your FeedBurner account or Login.
- Type your blog or feed address URL. If you are using WordPress then URL looks likehttp://example.com/feed – replace example.com with your domain name.
- Click on the Next button.
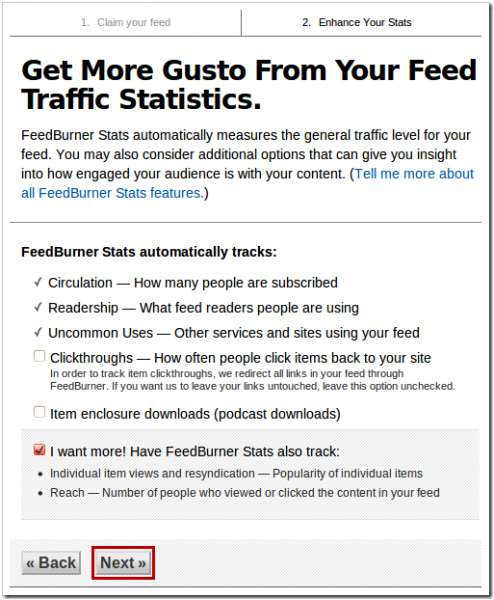
- Your feed URL will now be successfully created. Click on Next for Step 2.
- Select the Check boxes that you want and click on Next button.
- Click on the Publicize tab then go to Email Subscription on left sidebar.
- Click on the Activate Button.(See screenshot below)
- 1. Copy the code and paste it into your blog. Click on the Save button.
- Click on FeedCount on the left sidebar.
- Select the color scheme of your feed chicklet that you want to show on the blog.
- Click on the Activate button and copy the code shown next to paste it into your blog.

You have now successfully setup the feed URL for your feedburner account.
Enable email Subscription, Feed Count,etc


In the same way you can activate FeedCount.

Hope you liked this tutorial on how to setup your Feedburner account for your blog. Do drop in your feedback through your comments below :).


.png)
0 Comments For "How To Create Feed URL With FeedBurner Easy Step"